Personal Access Tokens
Personal access token (PAT) is used to access TimeLog REST APIs on behalf of yourself. This page provides the step-by-step guide to manage personal access token (PAT) as an alternative to using your username and password for API requests.
Create a personal access token (PAT)
1. Sign in to your TimeLog web app (https://app[x].timelog.com/[account name]).
2. Change your browser URL to https://login.timelog.com/personaltoken. You will be redirected to the personal access token (PAT) page.
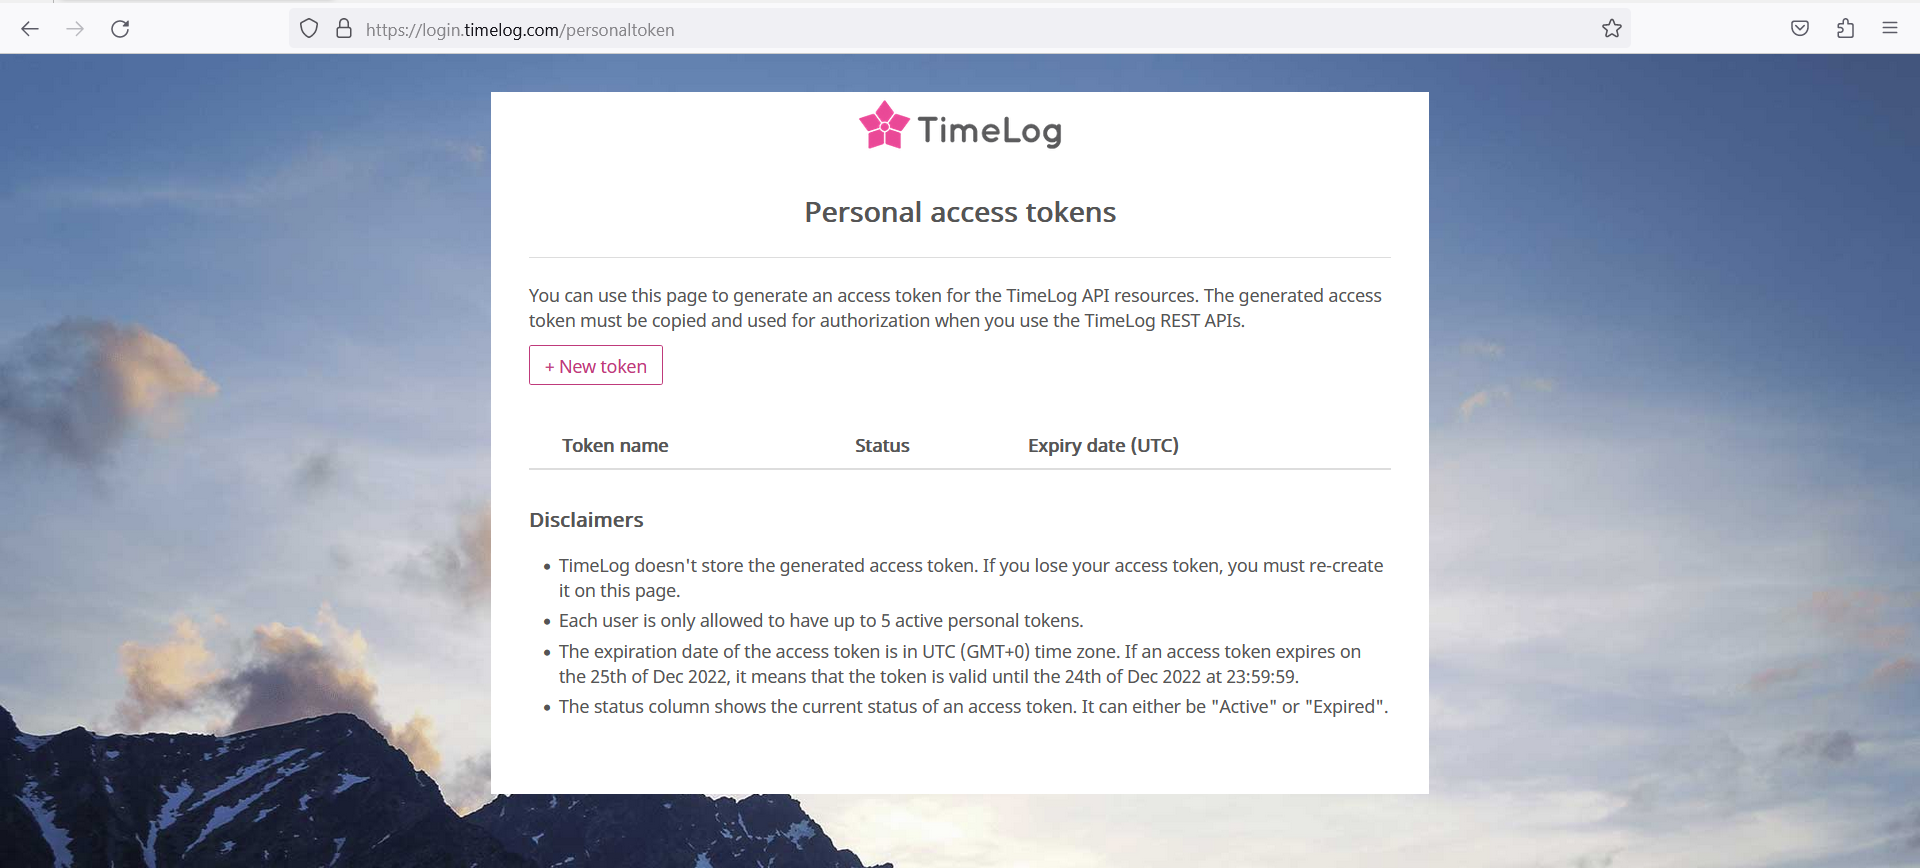
3. Click on the [New Token] button.
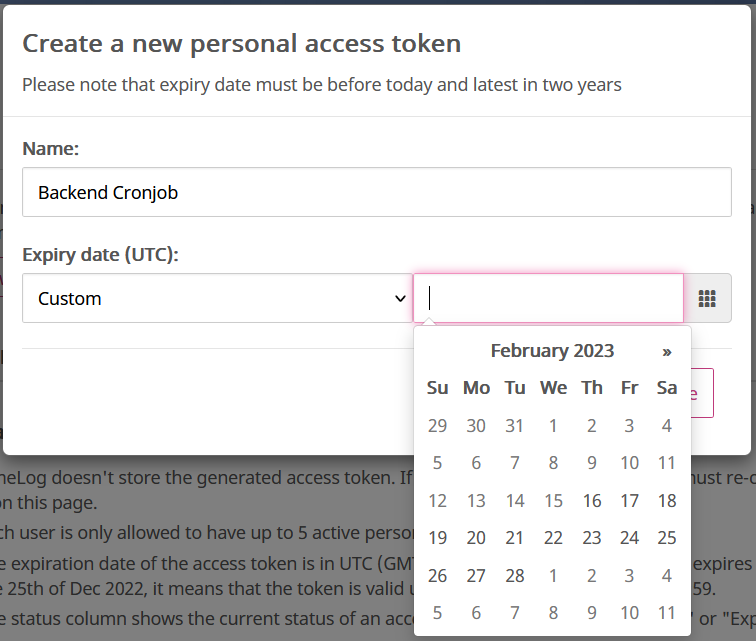
4. Provide a name to your token. Set the expiration date or validity period for the token. TimeLog allows you to set a maximum expiration period of 2 years, but also allows you to specify a shorter expiration period.
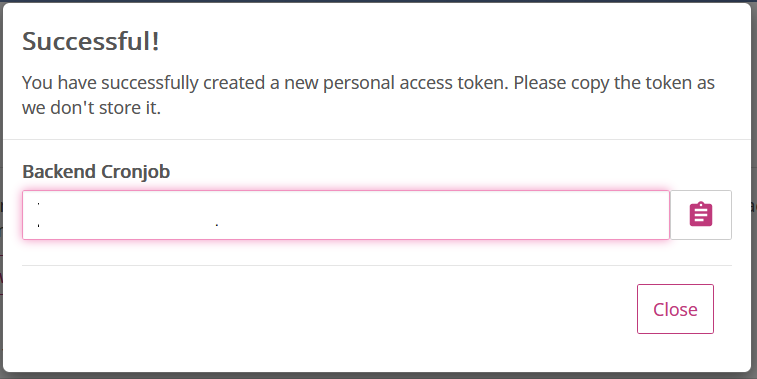
5. Click on the [Save] button to generate a new PAT token and make note of the token value.
Revoke a personal access token (PAT)
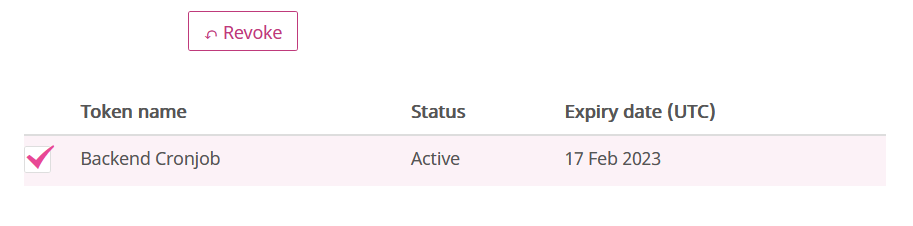
If you suspect that a PAT has been compromised or accessed by unauthorized individuals, you should immediately revoke the token to prevent further access.
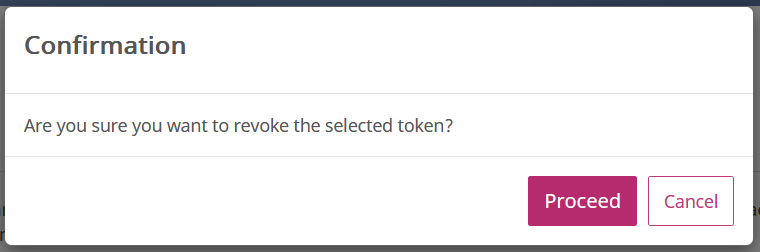
1. Locate the PAT you want to revoke, and select the [Revoke] button to revoke it.
2. Confirm that you want to revoke the PAT if prompted.
Regenerate a personal access token (PAT)
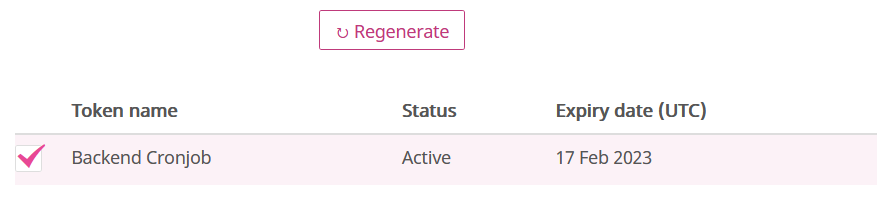
1. Locate the PAT you want to regenerate, and select the [Regenerate] button to regenerate it.
2. Confirm that you want to regenerate the PAT if prompted.
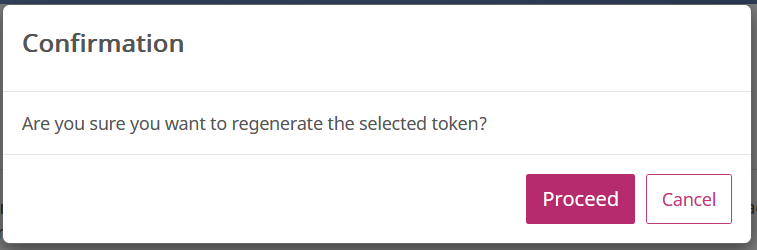
3. Once the new PAT is generated, make note of the token value.
Using a Personal Access Token (PAT) to authenticate and consume the TimeLog REST APIs using the POSTMAN tool
1. Open POSTMAN and create a new request for the API or service that you want to test with your PAT.
2. In the Authorization tab of the request, select "Bearer Token" as the type of authorization.
3. Paste your PAT into the "Token" field.
4. Click on the "Send" button to test the request with your PAT.
5. Review the response to verify that the request was successful and that the PAT was accepted.
